How to install carpet tile
 Jan 29,2018

 Diamond Carpet
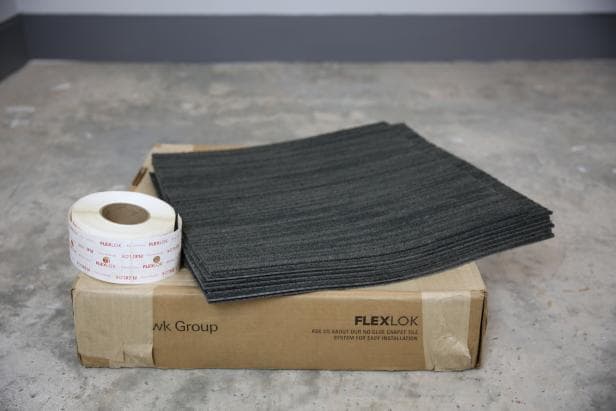
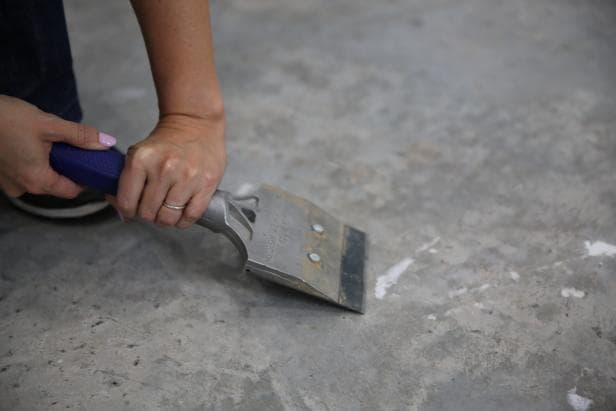
Bring the carpet tiles into the room, and let acclimate for 24 hours (Image 1). Scrape the floors until they are clean and free of debris (Image 2).
Step 2
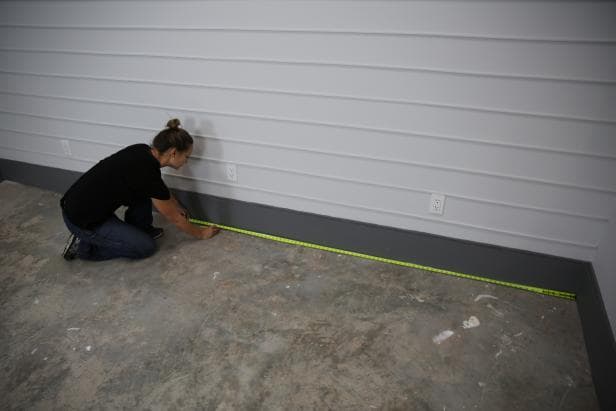
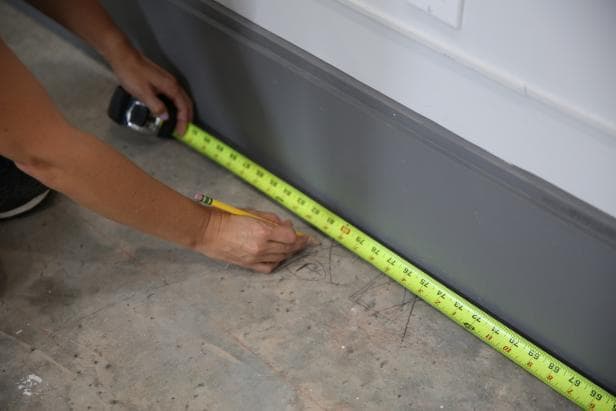
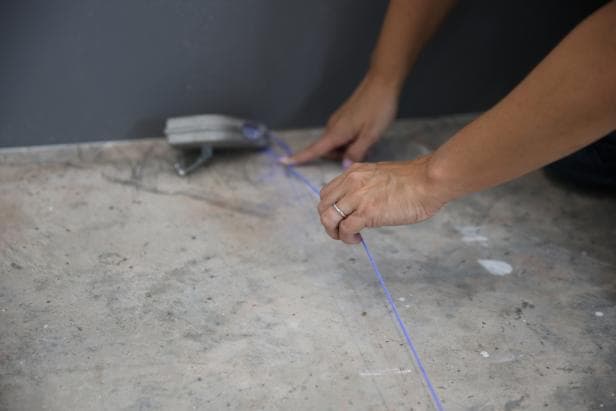
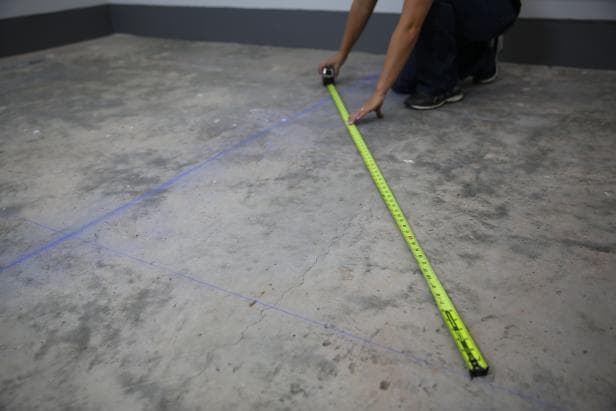
Measure and mark the midpoints of the walls (Images 1 and 2), and use a chalk line to connect the marks on opposite walls (Image 3). This will create a cross in the middle of the room, where you will begin laying tiles.
Step3
Square Up the Lines
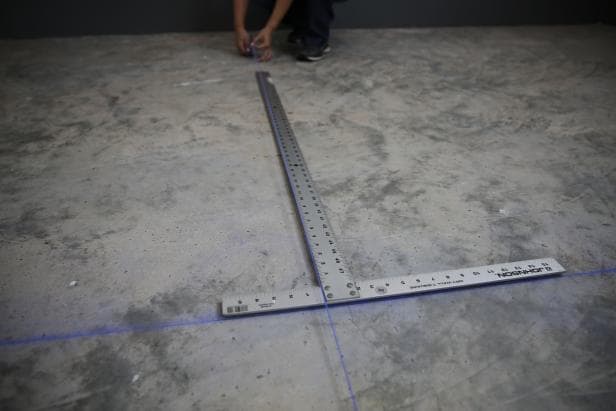
Verify the lines are at exactly 90 degrees from one another using a T-square or framing square (Image 1). Move the end of one line if you need to make a correction. If you do not have a square, you can check for square with a 3-4-5 triangle. From the intersection point, measure three feet along one line, then four feet along the other line. The lines are square when the two points are exactly five feet apart (Image 2). If the room is larger, use a 6-8-10 triangle for more accuracy.Step 4
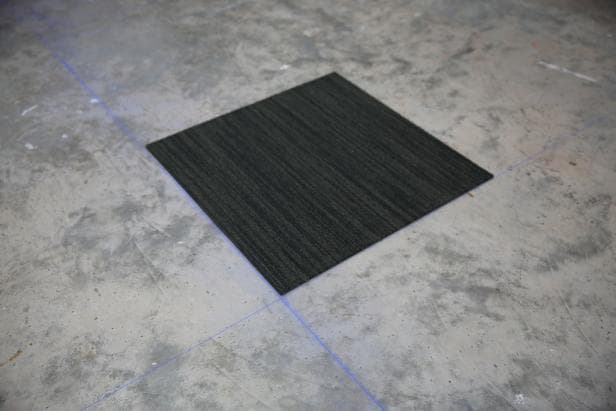
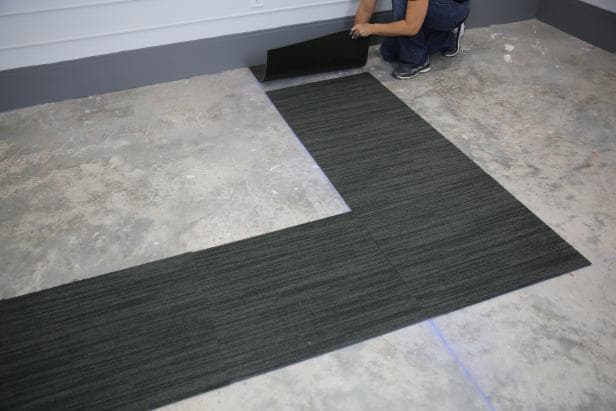
Mix tiles from different boxes to ensure you get good color differentiation for installation. Do a sample layout for edge tile sizing, ensuring tiles that hit the walls are at least a half tile wide. Start by placing the edge of a tile at the intersection of your reference lines (Image 1), and place tiles in both directions (without using adhesive) until they hit the wall (Image 2). If the last tile will be less than a half tile in size, shift the center tile to split the center reference line rather than aligned on an edge. Adjust your reference line to the edge of the tile so you can use it during final install. Tiles will still be equally sized on opposite ends of the room.
Step 5
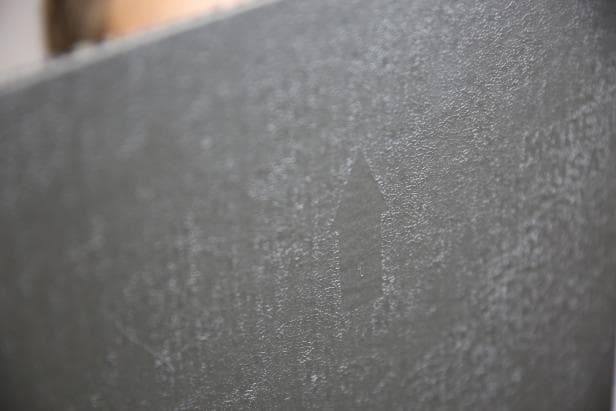
Identify Carpet Pile Direction
Carpet tiles can look slightly different in color and pattern when placed in different orientations. You\'ll see an arrow showing you the direction of the pile on the back side of most carpet tiles. Use this for layout direction to keep your installation consistent or intentionally random.
Step 6
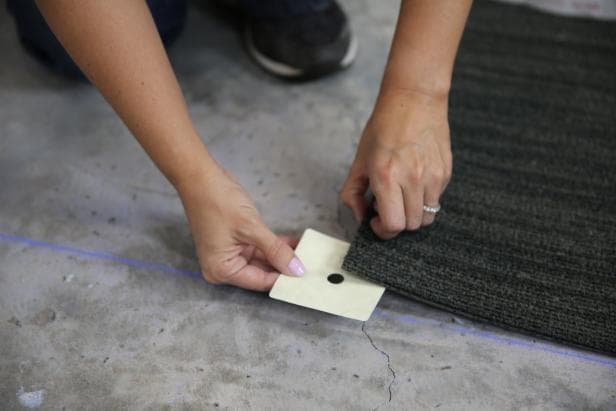
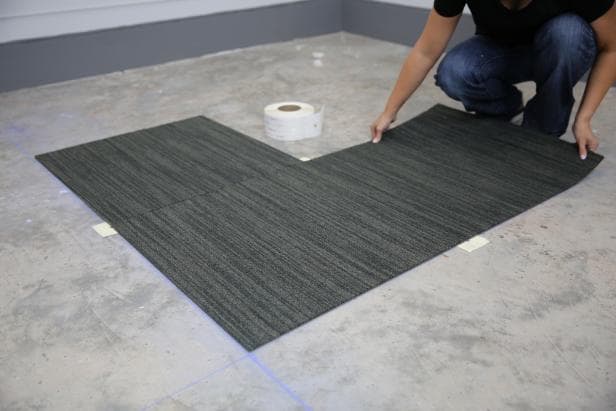
Place double-sided tape or sticker tabs on the corner of every tile (Image 1). One tab should connect four tiles together. Put the first tiles down using your reference lines as a guide. Continue installation in a stair-step pattern ensuring the tiles are placed tightly together (Image 2).
Step 7
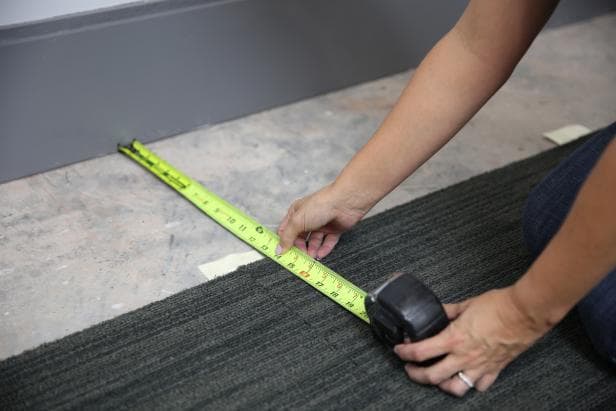
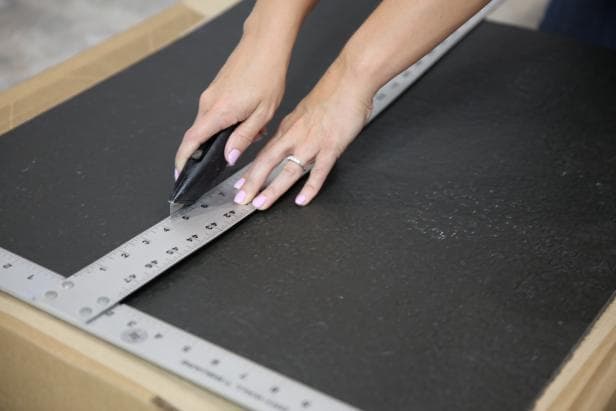
You will likely need to cut the perimeter tiles next to the wall. Measure each tile individually by taking two measurements from the wall to the closest installed tile (Image 1). Make sure the tile is in the correct pile direction, flip over and translate the measurements to the back of the tile. If the room is square, the two measurements will be the same. Place a straightedge, like a T-square, on the tile and cut along the line with a utility knife (Image 2). Take a few passes to make sure you cut all the way through. Place the tile in its spot, and repeat until you have completed the room.
------------------------------------------------------------------------------------------------------------------------------------This article is written by Wuxi Diamond Carpet Manufacturing Co., Ltd. Copyright Reserved. It is not allowed to be copied without permission. For reprinting, please declare the oringinal link. http://www.diamondcarpet.cn/
Contact Us
Wuxi Diamond Carpet Manufacturing Co.,Ltd.
Tel : 0086-510-83631907
E-mail: wxdiamondcarpet@126.com
Add: 


 Home
Home How to Know if Your carpet Installer Did the Job Right
  You May Also Like


 Tel
Tel
 Email
Email
 Address


